Sitecore Modifying the Upload Process
This post was originally posted on my old blog.
So here’s my first Sitecore blog post…and it’s about something that already has a very good article written about it, Modifying the Upload Process.
You can find a very good article about this on the SDN here:
Customizing the Upload Process
Today we will be doing something that I did on my most recent project. We will be changing the upload process, so that the created item, if it is an image, will be our own custom media item instead of the normal image item represent in Sitecore by the ‘Image’ or ‘Jpeg’ template.
A post on SitecoreAustralia’s blog mentions an easy way to create a media item that is your own custom media type, and we will be using that in our post as well.
Firstly, create a new template for your custom media item.
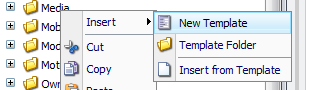
Create a New Template, call it Custom Image, and select the Base Template as the existing Image template in Sitecore. (located at templates/System/Templates/Media/Image).
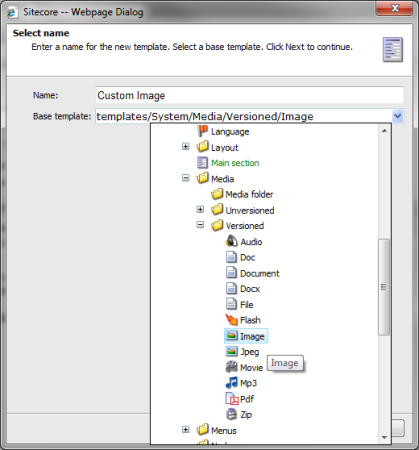
Then select where you want the template to be located, and finish the wizard.
Create some fields for your custom item. Here we have added the fields ‘Uploader’ and ‘Uploader Email’.
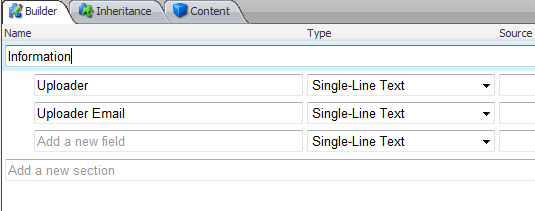
So now we have a template for our Custom Image, which will contain our own custom fields as well as the fields a normal image item would have.
Now, we want to change the upload process so that when an image is uploaded, the item will automatically be changed to our own custom template. Because our template inherits from the default System Image template, we know that no data will be lost in the change of template.
We will be changing the template by inserting a custom processor step into the uiUpload pipeline.
Firstly we need to write the code that will change the template of an image to our custom image template.
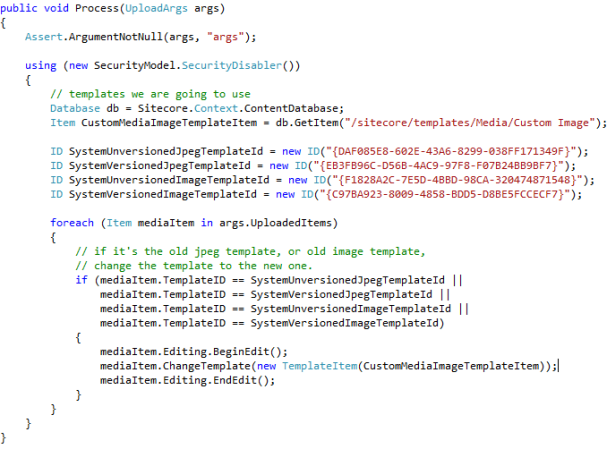
Create a class in your project that has a base constructor, and a Process method. The Process method should take an ‘UploadArgs‘ item as a parameter. In the method, we need to declare the items, or IDs of the templates we are checking against, and of the template we are changing to.
Then we simply iterate over all of the items specified by args.UploadedItems, and if an item is currently an old image item, change it to the new one.
The following is the resulting Process function:-
Now, all we need is our code to run during the upload process, after the file has been uploaded to Sitecore.
To do this, open up Web.config and search for ‘uiUpload’. You will find four processors, ‘CheckSize’, ‘ResolveFolder’, ‘Save’ and ‘Done’. Insert your own custom processor in between the Save and the Done processors, and call it ‘ChangeTemplate’.
Note: The ‘type’ attribute of the processor contains two bits of data that you will need to tweak. The first part will be the namespace and name of the class of the code you just created. The second part is simply the name of the dll that the code exists in.
Compile your code and we’re done!
To see the code in action, go to your media library and upload a new image from your computer. You will notice that once the upload completes that the resulting item will be of your own custom type, but will still contain the image and data that a normal image item would contain.
This custom process will also run for the batch upload that can be done using the Advanced Upload button in Sitecore, so all of your images will be changed accordingly. Yay!